Last week, my photography class and I was assigned a project, and that was to create a pinhole camera. I have heard of pinhole photography but have not worked with one before, so this was exciting for us. We first were to gather all the supplies to create this camera. You will need:
1. a can (soda can, Arizona ice tea can, or even a metal lunch box)
2. exact-o knife
3. black tape
4. black paper
5. black spray paint
6. mat board
7. 5x7 photo paper
8. push pin
9. sharpie
10. dark room (provided with chemicals used to develop photo's)
1. a can (soda can, Arizona ice tea can, or even a metal lunch box)
2. exact-o knife
3. black tape
4. black paper
5. black spray paint
6. mat board
7. 5x7 photo paper
8. push pin
9. sharpie
10. dark room (provided with chemicals used to develop photo's)
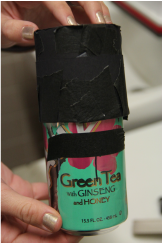
In this project my group used a 15.5 fl. oz. can
Step One:
Step One:
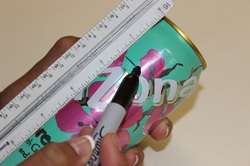
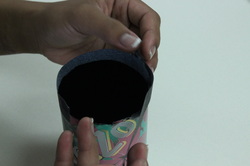
- you will need to mark approx. 1 and a half inches down on the can (measure with a ruler from top)
- then cut around the can with an exact-o knife (be careful not to bend the can while cutting)
- when done cutting all the way around the can, you should have two pieces
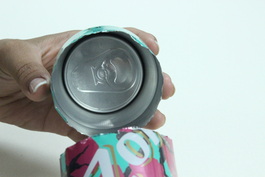
- then push down the top of the can where you drink from and close that opening by pressing the lid closed (this is to make sure that no light will get in)
 |  |  |
Step Two:
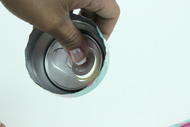
- spray the inside of the can with your black spray paint (both parts of the can, top and bottom)
- do not spray to close to the can or the paint will drip and leave marks
- you are going to want to spray the can about 5-6 inches away from the can
- you will want to be sure the paint is completely dry before you proceed to the next step (to dry faster you can use a blow dryer)
Step Three:
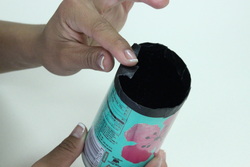
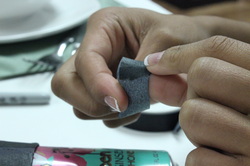
- take the top and the bottom pieces and wrap the rough/sharp edges with black tape
- wrap the tape all around the can so the tape is all attached in a circle
- wrap the tape so half of it is sticking up and fold it over to ensure no sharp edges
- layer the tape 1-2 times

Step Four:
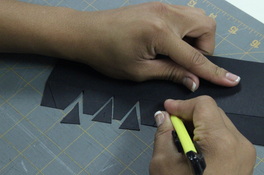
- cut four inches high of black paper (hamburger style)
- use a mat board to cut on
- cut using the exact-o knife
- fold the black paper an inch down
- on the part that is folded an inch down cut triangles out
- cut the paper length wise (hot dog style)
- tape the paper around the can so it wraps on the top of the can
- the part with the triangles cut out, that goes around the lid part of the can
- wrap around the can completely
 | 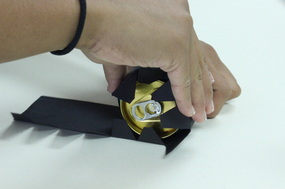 |
Step Five:
- cut circle with the circumference of the top of the can
- the circle does not have to be perfect but cut it as close as you can
- place the circle on top of the triangles
- tape it down so no light leaks in
- secure the inside of the lid with black tape
- once you secure the top of the can with the paper make sure the "sleeve" fits over the bottom part of the can
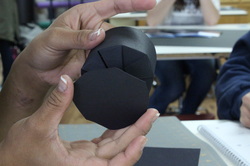
Step Six:
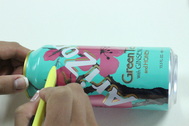
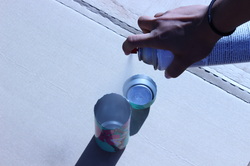
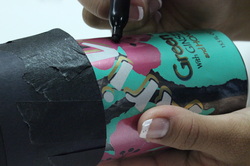
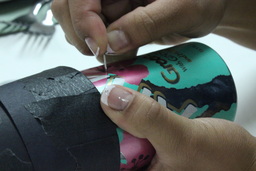
- measure half way down the can and make a mark with a sharpie (just a dot)
- poke a hole with the push pin but make sure not to push the pin in to far
- draw with the sharpie lines around the dot to show where the hole is when shooting
 | 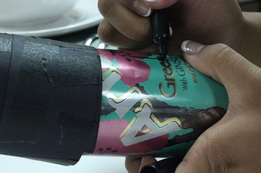 |
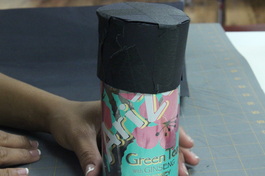
Step Seven:
- make a shutter (fold the tape down to make a flap and cover the hole completely
Step Eight:
- go into your dark room (make sure there is no light leaking in)
- place the photo paper with the glossy side facing out (towards the pinhole)
- shut the can and make sure the hole to take the picture is covered with the tape
Step Nine:
- your pinhole camera is now complete so go out and take pictures
- make sure you only use one piece of photo paper per photo
- when taking pictures on a bright sunny day you do not want to leave the tape off for more than approx. 2-3 seconds
- on a cloudy/overcast day leave the tape off for approx. 11-13 seconds (note- that your time will differ depending on the lighting situation, you may have to experiment a few times to truly get the perfect photo)
- when taking photo's inside (you may need to experiment) but the time varies from approx. 4-6 minutes
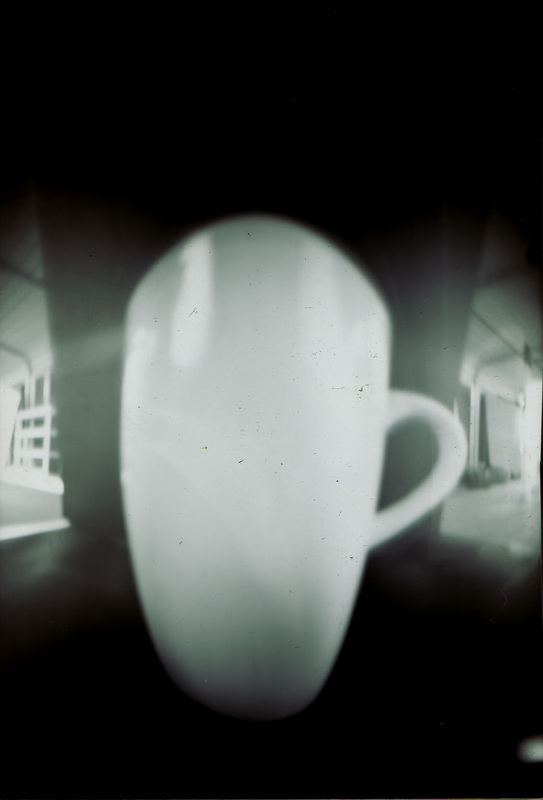
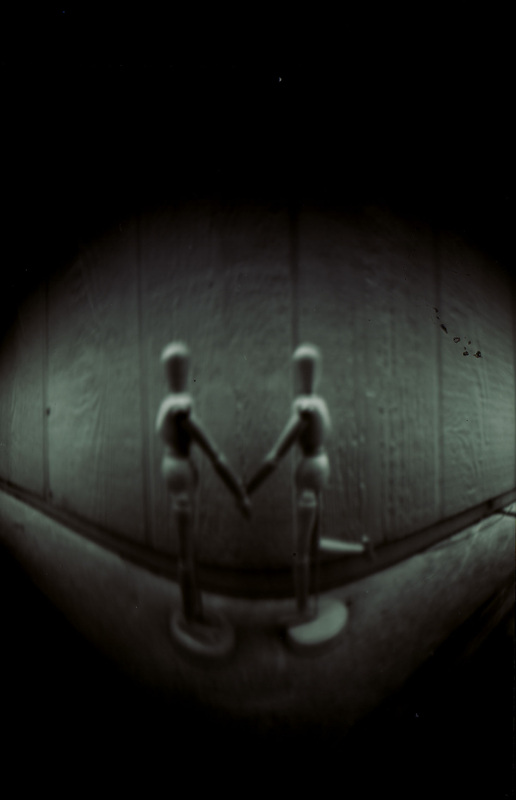
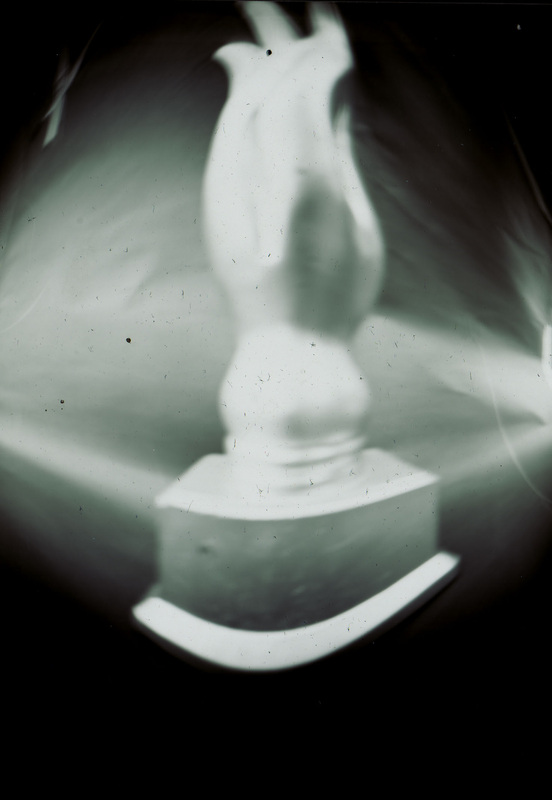
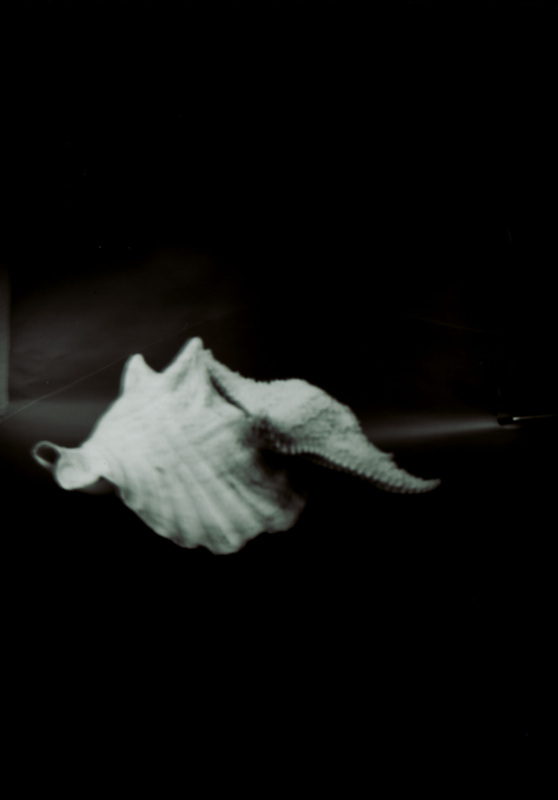
Here are some of our photo's:
 |  |  |  |
 RSS Feed
